


STRANDS OF JOY VOL II BY ANNA JOHANNA


The Finishing Touch: Knitting Techniques for a Professional Flair

Today, we are talking about finishing techniques! There's no denying the joy of watching your stitches come together, row by row, but the real magic lies in the finishing touches that turn your knits into polished masterpieces, those secret ingredients that have friends exclaiming, "Wait...you made this?"
There are a plethora of finishing techniques we can talk about, but for today we are going to focus on three for you to explore in your next project for achieving polished knits; choosing the perfect cast-on and bind-off, which seaming method to use and the best way to block your FO.
Whether you're a seasoned pro or embarking on your knitting adventure, mastering these techniques will bring a sense of pride and accomplishment to every stitch. Let's take a look!

The best cast-on techniques and ideal bind-off methods
Choosing the right cast-on and bind-off can be a huge step to achieving polished knits. While most knitting patterns will specify the cast-on and bind-off method to use, it's always worth experimenting with other options if the ones suggested aren't giving you the desired results. For the best results, it's important to consider the following to ensure your project begins and ends with perfection!
- Project Type and Stretch: Consider the project's purpose. For socks and garments, a stretchy cast-on like the german twisted cast on works well, while non-stretchy options like the cable cast on suit items that require structure.
- Stitch Pattern: Your stitch pattern plays a role. For ribbing, the long tail tubular cast on or the alternate cable-cast on complements the rhythm. For lighter projects that would benefit from a clean edge, an i-cord cast-on may be ideal!
- Yarn Weight and Fibre: Lighter-weight yarns with delicate fibres can easily get weighed down by bulky bind-offs, but pair well with delicate techniques such as the eyelet bind-offs airy finish.
- Project Tension: Just as you would for the main part of your project, adjust your needle size to get the correct tension for your cast-on and bind-off.
- Consistency: For a really polished look try using a cast-on and bind-off method that match each other and the overall project style. A tubular cast on and bind-off, while more advanced methods, give a beautiful seamless edge, especially on ribbing. However, simple methods can work beautifully too, the crochet cast-on perfectly matches a traditional knitted bind-off and gives a lovely clean edge to chunky cowls.
Sassy Seams
Seaming is something that some knitters may shy away from, and while we are huge fans of a seamless knit, there are lots of benefits to trying seamed projects; structure and stability, the opportunity for adding different design elements and creating visual definition to name just a few. But how do you choose the best method? Let's take a look at a few.
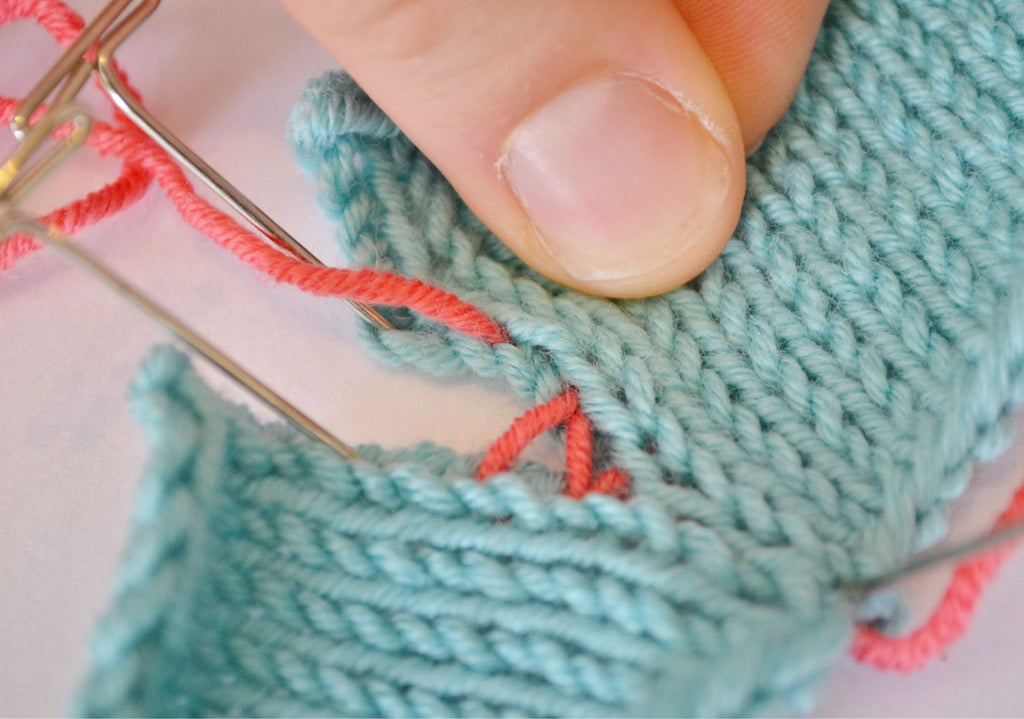
- Mattress Stitch: This creates an almost invisible seam by working through the horizontal bars between stitches. It's great for side seams, shoulder seams, and other areas where an inconspicuous seam is desired.
- Backstitch Seam: Backstitch involves placing the right sides of your pieces together and moving your tapestry needle in and out along the seam line. The seam is bulkier in comparison to Mattress stitch though, so it works better with lighter-weight yarns.
- Grafting: Used to seamlessly join two sets of live stitches, creating an invisible, seamless join. It's commonly used for joining the toe of socks, the top of mittens, and other areas where a continuous fabric is desired, but isn't ideal for any areas that need to support any weight, for example, shoulder seams.
- Three needle bind off:This technique joins two sets of live stitches while binding them off at the same time. It creates a sturdy seam, so ideal for joining shoulder seams! It can be worked on the wrong side for a discreet seam, or on the right side in a contrasting colour to add definition and visual interest.
- Slip-stitch crochet seam: Creates a seam very similar to the mattress stitch and you can see a side by side comparison in this video, but you can also do it in this way too to create a more decorative seam!
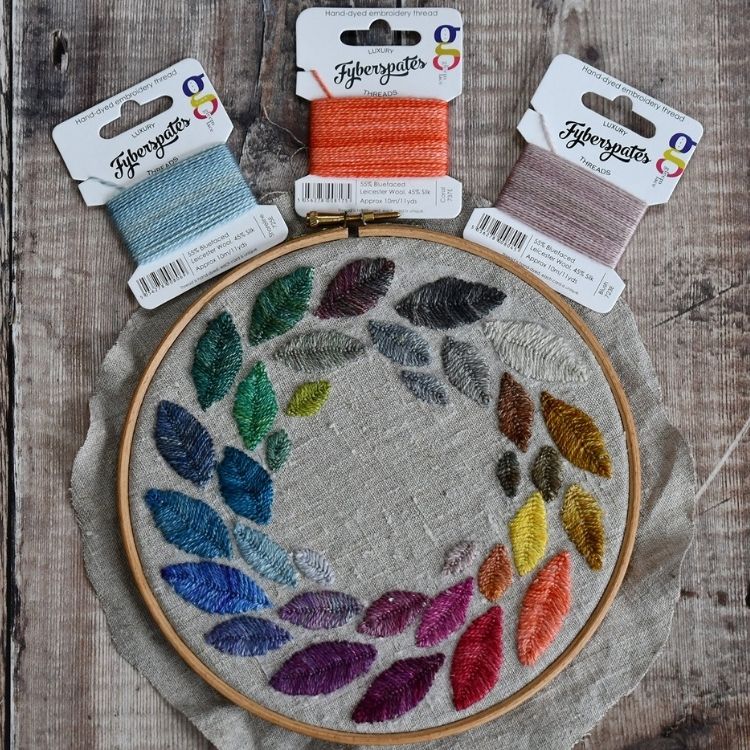
Wet blocking vs. steam blocking
One of the most important finishing techniques is blocking, the final touch that transforms your FO into a masterpiece. But did you know, the blocking method you choose can be influenced by the fibre content of the yarn you used? Here are some general guidelines for blocking based on fibre content:
- Animal Fibers (e.g. wool, alpaca, mohair): These fibres are more receptive to blocking and have excellent memory, meaning they hold their shape well. You can use either wet blocking (soaking the finished project in water, then laying it flat to dry) or steam blocking (applying steam without direct contact with the project).
- Plant-Based Fibres (e.g. cotton, linen): Plant fibres have less elasticity than animal fibres, making them more resistant to blocking. Wet blocking is the most effective method for these fibres, as it helps the fibres relax and settle into the desired shape.
- Synthetic Fibres (e.g. acrylic, nylon): Synthetic fibres don't have the same response to blocking as natural fibres. Steam blocking is usually the best method for acrylic and other synthetics, as wet blocking may not be as effective.
- Blends (e.g. wool/acrylic, cotton/linen): For yarns containing a blend of fibres, you can use a blocking method that suits the majority fibre content. For example, if a yarn is mostly wool with a small amount of acrylic, treat it like a wool yarn.
If you take one thing away let it be this...
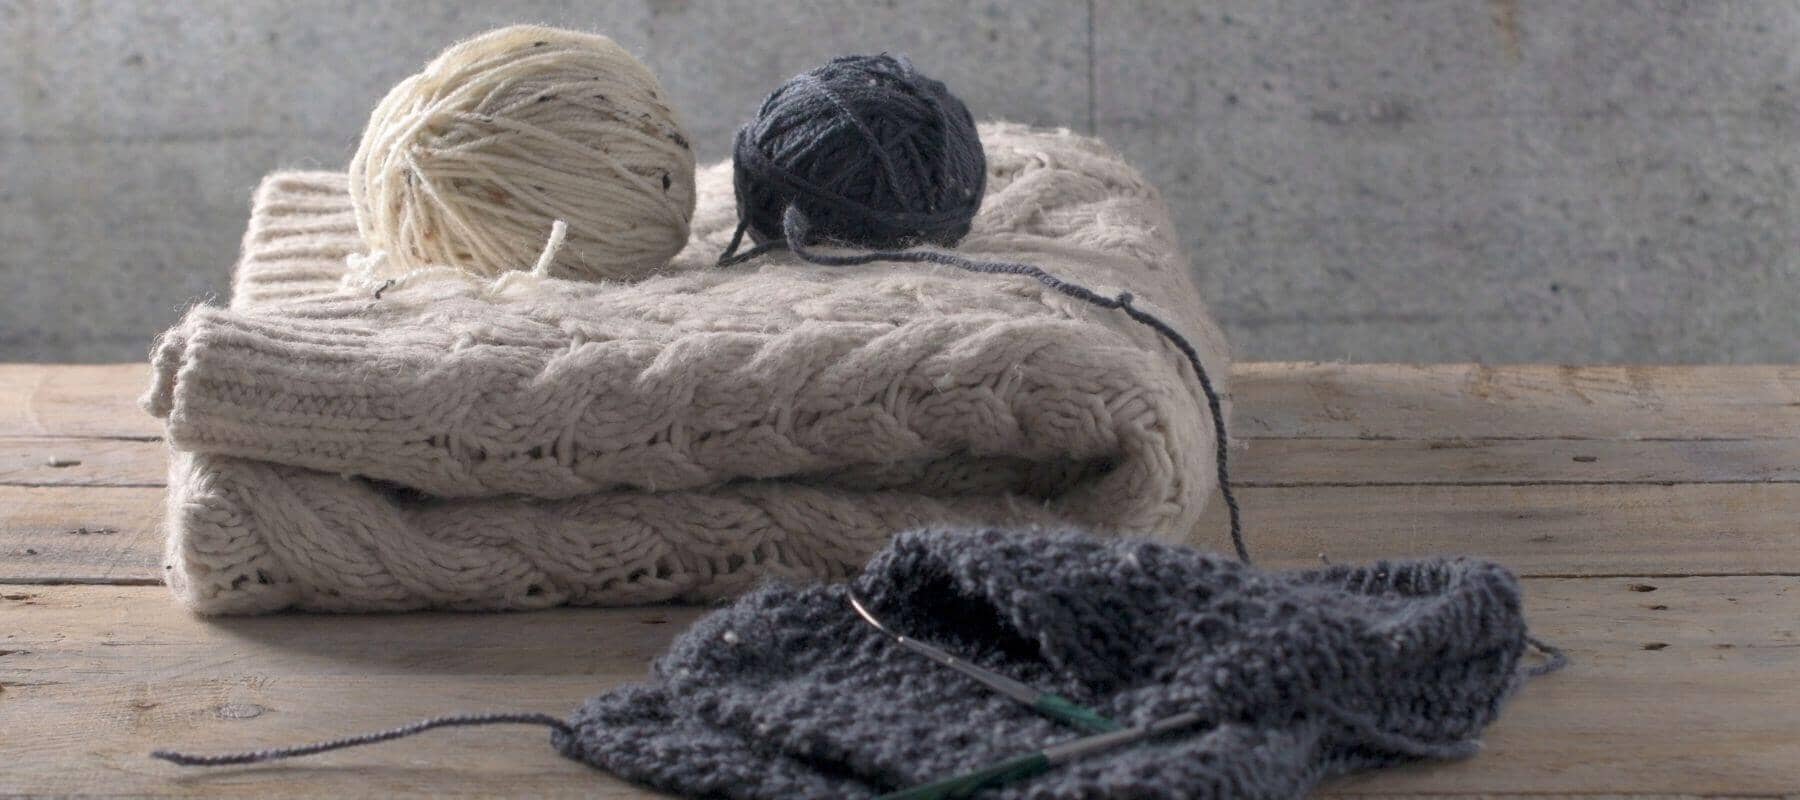
Swatch! Remember, all of the above options depend on the type of project, the stitch pattern, and the desired finish. Experiment with different methods to find the one that works best for your specific knitting project by swatching. Try out different cast-ons and bind-offs, practice seaming them together, and block them to see the final result. These swatches don't have to be huge as you are not trying to work out your gauge, just how the different methods look, and even if you decide something isn't right for your current project, you can refer to them for future ones as well!
The techniques listed in this post are just a handful of possible options, so we encourage you to explore other methods out there too! Do you have a favourite finishing technique you'd love to share with us? Let us know in the comments below!