

STRANDS OF JOY VOL II BY ANNA JOHANNA


Unveiling Steeking FAQs: Your Handy Companion for Perfecting the Technique

Welcome back! If you've been following our latest knitting obsession, you're already familiar with the captivating art of steeking. Last week, we guided you through the intricacies of this technique, providing a step-by-step tutorial on reinforcing your steek using the crochet method. We also introduced you to the Tangled Cowl, a gem of a pattern designed especially for all of you eager to embrace steeking for the first time.*
Now that you're armed with steeking skills and confidence, it's natural to have questions. Knitting is as much about understanding as it is about technique. So, as you set forth on your steeking adventure, we're here to offer answers and insights.
*Missed our previous post? No worries! Check out our guide to Mastering Steeking: Conquer Your Yarn Fears with Confidence and explore the exquisite Tangled Cowl pattern tailored for your steeking adventure.
In this instalment, we're tackling the Frequently Asked Questions about steeking. Whether you're a seasoned knitter or a curious newcomer, we've got you covered. From unravelling the details of steeked projects to navigating potential pitfalls, we're here to share the knowledge that lets you conquer steeking with your own unique style.
How do I choose the right yarn for a steeked project?
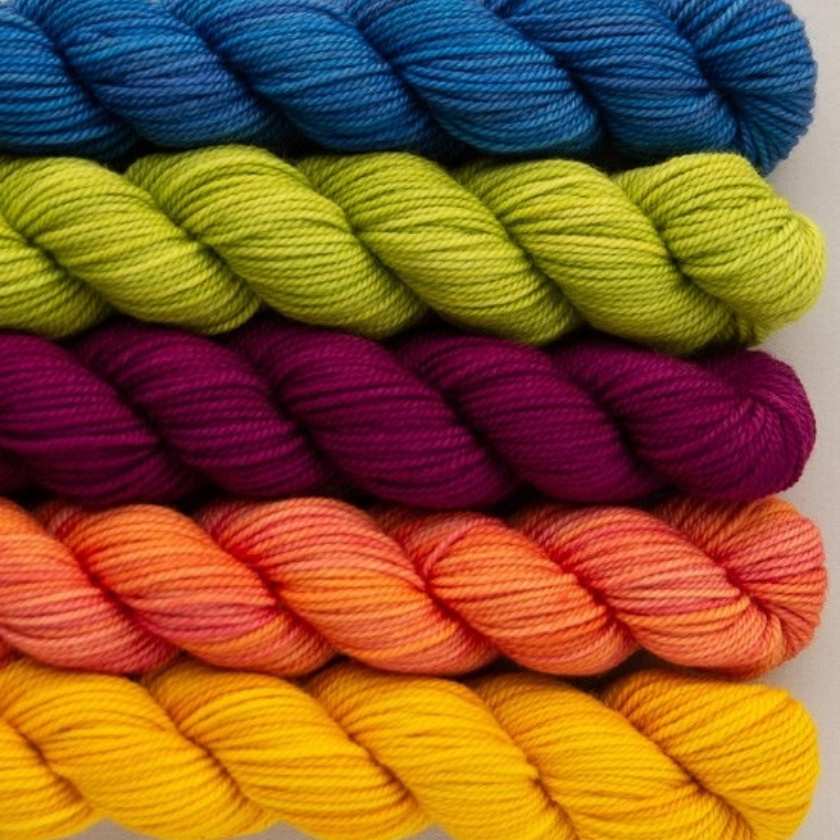
In theory, all yarns can be used for steeking, but some will definitely be trickier than others. Ideally, you'll want to use a 'sticky' yarn, meaning something with a high wool content that isn't superwash. This is because the stitches will cling to each other and make unravelling much harder.
If you do use a slippery yarn, you really need to make sure your stitches are extremely secure once reinforced, and this is where an alternative technique to the crochet method we shared above may be better.
What other methods of reinforcing the steek are there besides the crochet method?
There are lots of ways to reinforce your steek stitches. Check them out:
- Machine Stitching: If you're comfortable with a sewing machine, you can use a straight stitch or zigzag stitch to sew along the edges of the steek. This provides a secure reinforcement that's great for projects with thicker yarn. Check out this handy tutorial from Mary-Ann Stephens.
- Hand-Sewn Backstitch: Employ a simple hand-sewing technique by stitching along the steek edges with a contrasting yarn or thread. The backstitch creates a strong bond that helps keep everything in place. Aleks Bird has a great tutorial on this.
- Felted Reinforcement: For wool projects, felting can be an option, but we can stress rough to make sure it is 100% wool and does felt well (not all do!). Gently agitate the steek area in hot soapy water to encourage the fibres to mesh together, creating a secure edge.
After cutting the steek, how do I finish the edges to make them neat and tidy?
- Fold and Sew: Fold the steek edges to the inside of the garment and sew them down using a whip stitch or blanket stitch. This method creates a clean finish and extra reinforcement.
- Bias Tape or Ribbon: Sew a strip of bias tape or ribbon along the steek edges. This not only reinforces the steek but also adds a decorative touch to your project. Hélène Magnússonis shows how to do this here.
- Knit facing: The entire steek edge is enclosed in a tube of knitting. It gives a lovely edge and opens up lots of finishing possibilities, just check out this tutorial from Kate Davis.
Are there specific knitting stitches or patterns that work best for the steek stitches?
We suggest keeping steek stitches in stocking stitch (knit all stitches) to make it easy to reinforce and cut in the correct place.
What if I'm nervous about cutting my knitting? Are there any tips to ease my anxiety?
Of course! Here are our top tips:
- Take your time! Steeking is not something to be done in a rush. Find a quiet moment and don't rush through any of the steps.
- If you are using a natural, non-superwash yarn and want to add an extra layer of security, you can give the steek stitches a steam block before cutting. This allows your steek stitches and crochet reinforcement (if using) a chance to get cosy and stick together.
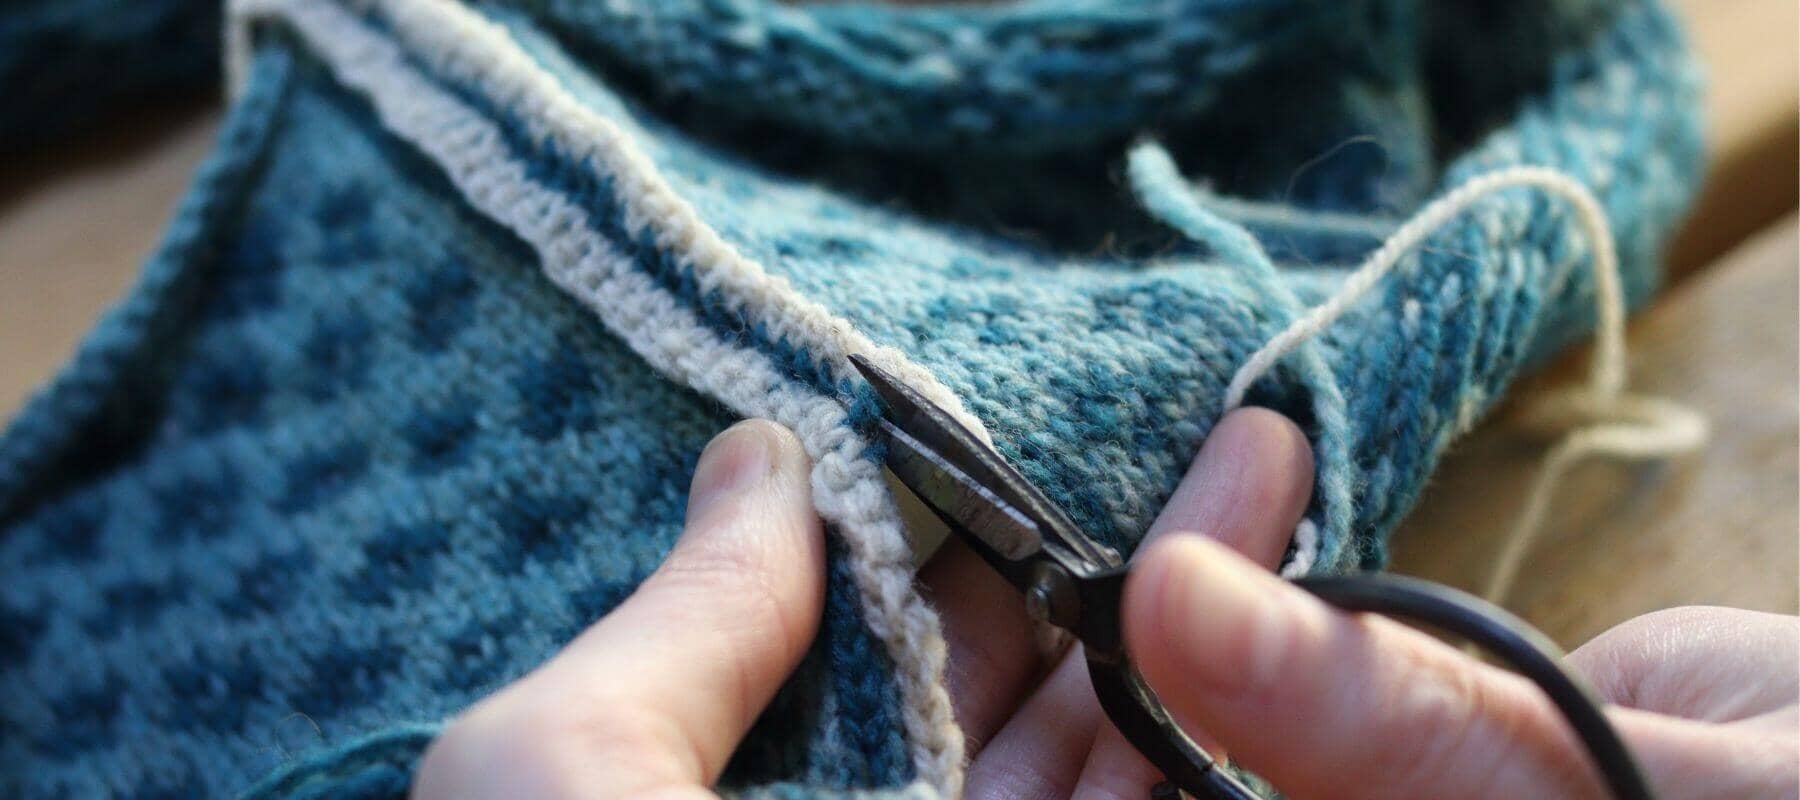
- Don't be tempted to use any old scissors to do the cutting. Small, sharp scissors work best, preferably fabric ones, although bonsai scissors work really well for this too!
Do I need to be an advanced knitter to attempt steeking, or can beginners give it a try?
While it is certainly classed as a more advanced technique, there is no reason why you can't try steeking early in your knitting journey. Our advice is to practise with swatches first and choose a simpler project to start with. While we're talking about it, the Tangled Cowl is actually a fantastic introduction to colourwork and working in the round too!

And that’s it! Do you feel empowered to give steeking a try, or are you already a master steeker and have some of your own wisdom to share? Let us know in the comments below! And don't forget to explore the magical Tangled Cowl pattern, designed as your companion on this steeking journey.
Happy knitting and steeking!