
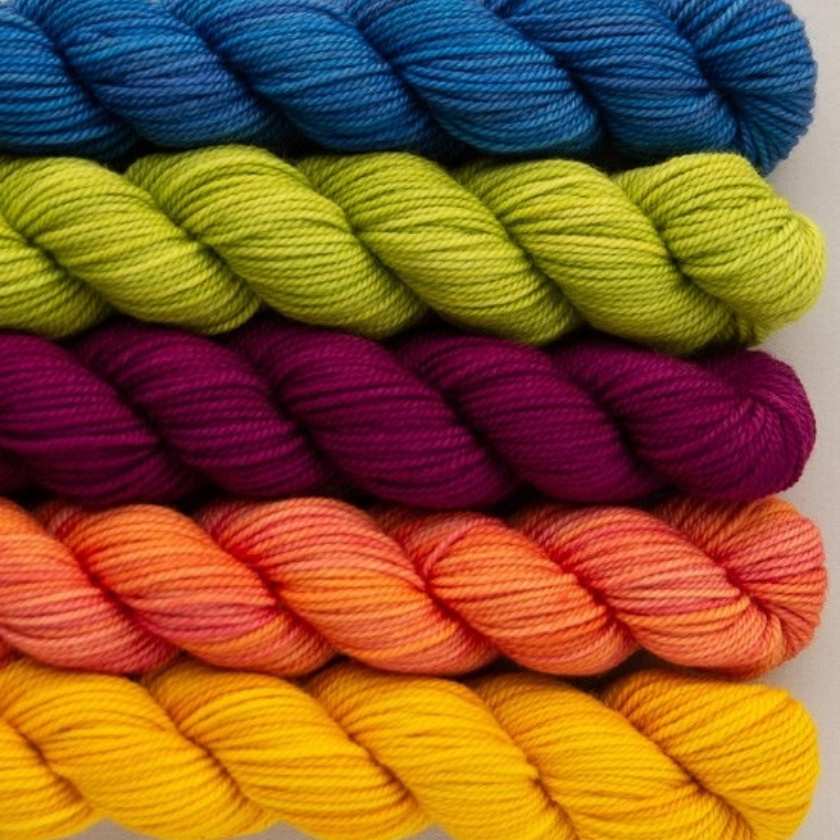
Special Offer


^automatic discount, no code needed just add your copy.


Swatching Demystified: Swatching flat and in the round


Today, we're demonstrating how we swatch, both flat and in the round. Are you ready?!
Casting on
As with any knitting, we start with the cast-on, but how many stitches should you have? As we said in our previous post, bigger is better, and you want to aim for a swatch that's at least 6"/15.25 cm square. But how do we work out the cast on number?
Use the pattern gauge
Though we don't know our stitch gauge yet (that's what our swatch is for!), we can use the one listed in the pattern as a rough guide.
Let's say we are knitting a sweater flat in stocking stitch, and the stitch gauge listed is 24 sts in 4"/10 cm. We can work out how approximately many stitches we need for a 6"/15.25 cm swatch by doing a few sums. The below is based on inches, but the same rules apply if you wish to calculate for cm.
- Work out how many stitches per inch in the pattern gauge: 26 sts / 4" = 6.5 sts per "
- Now work out how many stitches are in 6 inches: 6.5 sts x 6" = 39 sts
So now we know we need to cast on approximately 39 sts. To be safe we'd suggest adding a few extra and cast on around 44 sts. The sweater is knit flat, so we will swatch flat by knitting the right side, then turning our swatch and purling the wrong side.
Remember, when it comes to knitting a swatch flat, it may look prettier and stop it curling if you add a border of garter stitches, but it can distort the gauge of your swatch. This is because the stitches are really short in garter stitch, so only swatch for the stitch listed in your pattern and avoid adding a border.

What if the stitch pattern is more complex?
You won't only be swatching stocking stitch, so check the pattern details for information about the stitch patterns used. There it should say how many stitches there are in each pattern repeat.
For example, the twisted stitch pattern I used for the above swatch uses a multiple of 9 sts, so my cast-on number must be divisible by 9. Let's use the numbers from our previous example. We needed approximately 39 sts to get 6"/15.25 cm, but does that work with our stitch pattern?
39 sts / 9 sts = 4.33 repeats
Nope, so what do we do? We take the whole number from the above result, which in this case is 4, and to be sure our swatch will be big enough, add one more repeat. So...
4 + 1 = 5 repeats
5 x 9 sts = 45 sts
We need 45 sts to have the right amount of stitches for the pattern repeat and make sure our swatch is big enough, simple!
Swatching in the round
Swatching in the round is a technique some knitters are less familiar with, but even with something as simple as stocking stitch, your gauge in the round can be significantly different to when you knit it flat. That's why it is important to know how to swatch both ways, so let's check out some swatching in the round methods.
Tubular method
This is where you knit a tube and work in the round for your entire swatch. You calculate your cast-on stitches as we did for the flat swatch, join to work in the round and start knitting.
While it's the simplest way to swatch in the round, it has drawbacks. Remember, to work out your gauge you need to measure over a 4x4" / 10x10 cm square, with some wriggle room at the side for accurate measuring, so to get a flat section of knitting you'll need to knit at least a 10"/25.5 cm circumference.
You can get around this by knitting a smaller circumference and then cutting your swatch to lay it flat to measure the gauge. While this could work for some, be cautious, as many knitters will naturally knit tighter for small circumferences. If you're swatching for the body of a sweater that is knit as a much larger circumference, you may find your swatch gauge doesn't match your project gauge and cause fit issues.
Loop method
This brings us to the loop method. You work on the right side of the swatch only and use circular needles so you can slide your work back to the other end of your needles and work the right side again, carrying the yarn loosely at the back. It may feel clumsy at first, but it's a great way to knit a swatch quickly, accurately and without using a large amount of your yarn.

One of the problems with this though is because we are carrying yarn across the back, the edge stitches can get loose. We can counteract this, however, by knitting the two stitches at each edge through the back loop (tbl). Here's a breakdown of this method:
- Step 1: Calculate how many stitches you need using the above method, plus an extra 4 stitches - these will be the edge stitches you will knit through the back loop.
- Step 2: Cast on your stitches. Depending on your cast-on method, your next row may be a wrong side or a right side. If it's a right side, work the next row as normal, but be sure to knit the first and last two stitches through the back loop. If it is a wrong side row, proceed to Step 3.
- Step 3: Do not turn your work. Instead, slide all your stitches back to the opposite end of the needle so the right side is still facing you. Your working yarn will be on the left side of your swatch. To begin knitting again, carry your yarn loosely across the back of your swatch like a long float. To help knit the first stitch, it helps to hold the 'float' in place with your left hand. Work the row, knitting the first and last two stitches through the back loop and the stitch in between in your stitch pattern.
- Repeat Step 3, working only on the right side of the swatch and carrying the yarn loosely at the back. If you look closely at the colourwork swatch below, you will see we've held both colours together to knit the edge stitches. This prevents you from having to carry your contrasting yarn loops to different points of your swatch, creating an uneven tension and inaccurate gauge.

Once your swatches are complete, it's time to soak them in warm water and your wool soak of choice and leave them to dry flat. Remember, you should take gauge measurements when your swatch is completely dry and with any pins you used removed.

Have you swatched in the round before? What method do you use? If you haven’t, do you think you’ll give the loop method a try? Let us know in the comments below.