
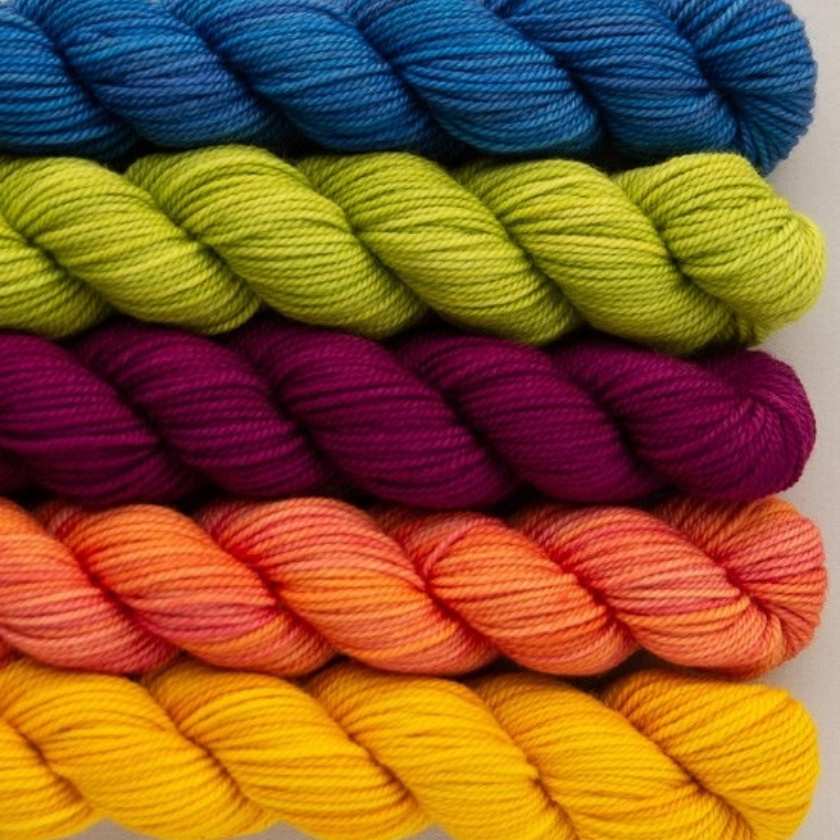


Turn A Skein To A Ball - Here's How!


So your gorgeous new yarn has arrived, and you're excited to get it on your needles, but before you begin, you need to change that skein into a ball. If you have a swift and ball winder handy, you're good to go, but we don't all have those around the house, so what then?
Worry not, we're here to help! Here's a step-by-step guide to help you wind your yarn into a neat and tidy ball:
Step 1: Untwist The Skein
At one end of the skein, the yarn will have been tucked into itself to keep it secure. Carefully untuck and lay your yarn flat and get everything as straight as you can
At this point do not be tempted to cut any ties!

Step 2: Find Something To Loop The Yarn Over.
Now find something that will keep your yarn from getting tangled while you wind your ball. You can get creative here! As long as it's going to keep your skein in a tidy loop while you wind and won't lift off while you work, you're all set. Here are a few ideas to get you started:
- Around your knees or feet
- A volunteer's arms
- A chair back ( a swivel chair works similarly to swift!)
Step 3: Identify The Ties And Cut
Once your skein is in place, you can cut the ties, but before you get started, identify how your skein has been secured. All skeins will have a knot where the two ends have been fastened together, but it will also be secured by either looping the yarn from the skein around itself in several places, or it will be tied at certain points with a different yarn.

If a different yarn has been used, simply cut these ties off and discard them before cutting the yarn just above the knot tying the two ends of your skein.

If the yarn has been looped around itself, as in the photos, you will need to cut the knot tying the ends together first, then carefully unloop the yarn from around the skein until you can easily unravel the yarn.
Step 4: Start Winding!
Hold the end of the yarn between your thumb and forefinger, and create a loop by wrapping the yarn around your index and middle fingers. Using your other hand, wrap the yarn around the loop a few times to create a small bundle of yarn.

Slip your fingers out and hold the bundle of yarn securely. Continue wrapping the yarn around the bundle, working from side to side, until you have a small, neat ball of yarn.
 As you wind the yarn, rotate the ball in your hand to help keep it even. Use your thumb as an anchor point each time you rotate.

Step 5: Squeeze!
Finally, once you've wound all of the yarn into the ball, give it a gentle squeeze to help it hold its shape, and enjoy your newly wound ball of yarn!

A few extra tips…
If the yarn is prone to tangling or twisting, you can unwind a few feet of yarn at a time and lay it flat on a table or other surface as you wind it into the ball.
Also, if you need to take a break while winding your yarn (we’re looking at you, lace weights!), simply tuck the ball into a bag or container to keep it tidy, and if you need to move the skein of unwound yarn, secure it first with a few ties so it doesn't get tangled.
Lastly, don't worry if your ball isn't picture perfect as long as your able to knit your garment that's all that really matters!
Do you like to wind your yarn by hand and do you have any tips for winding your yarn at home? Tell us in the comments below!